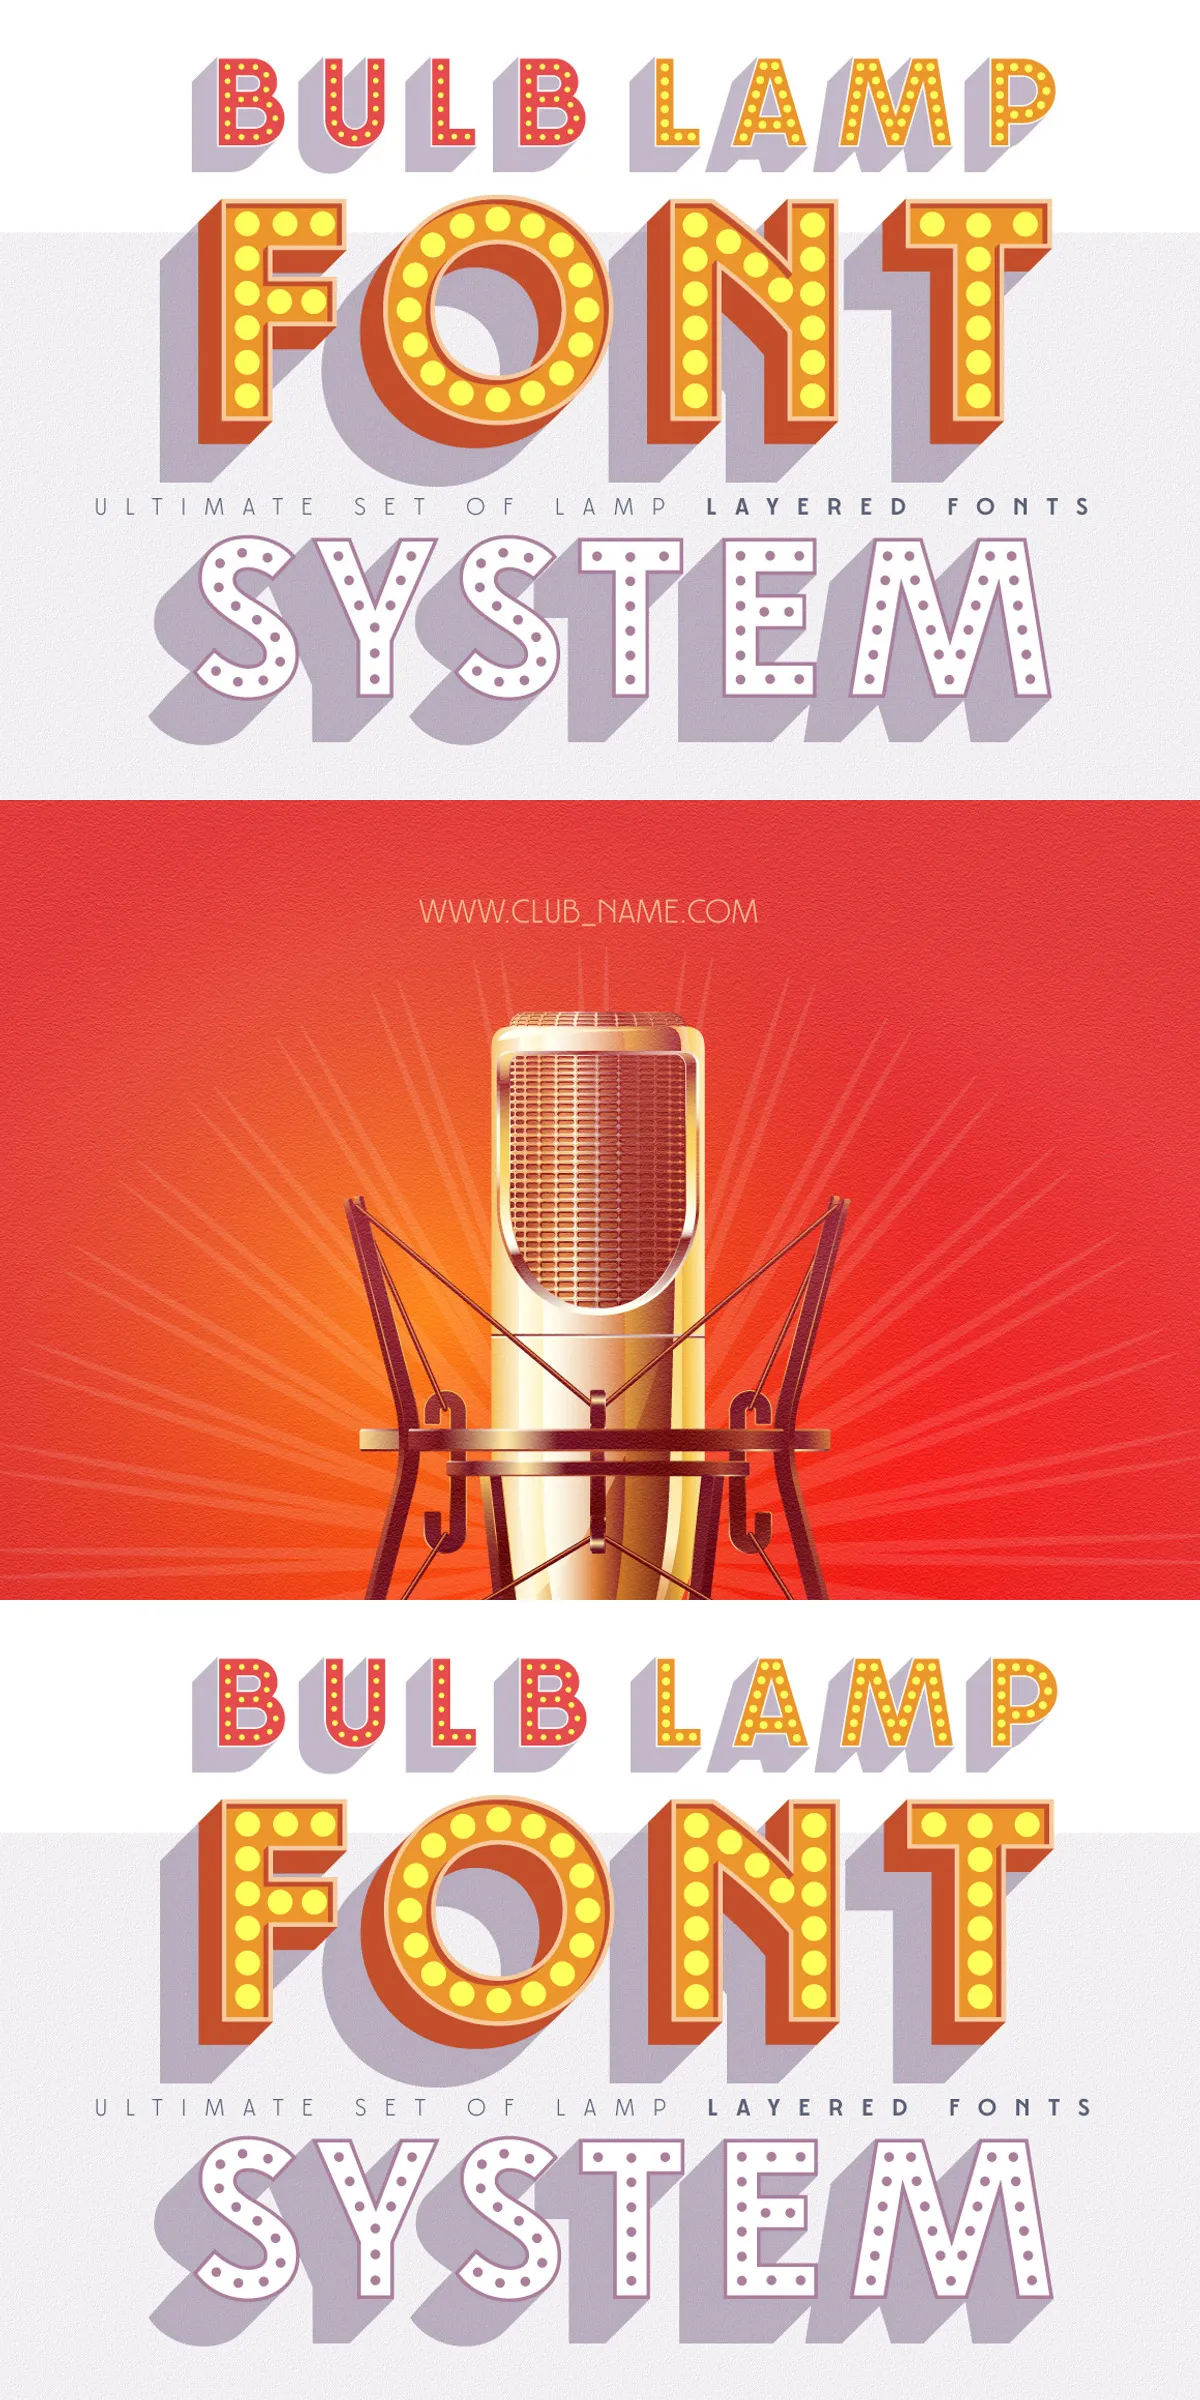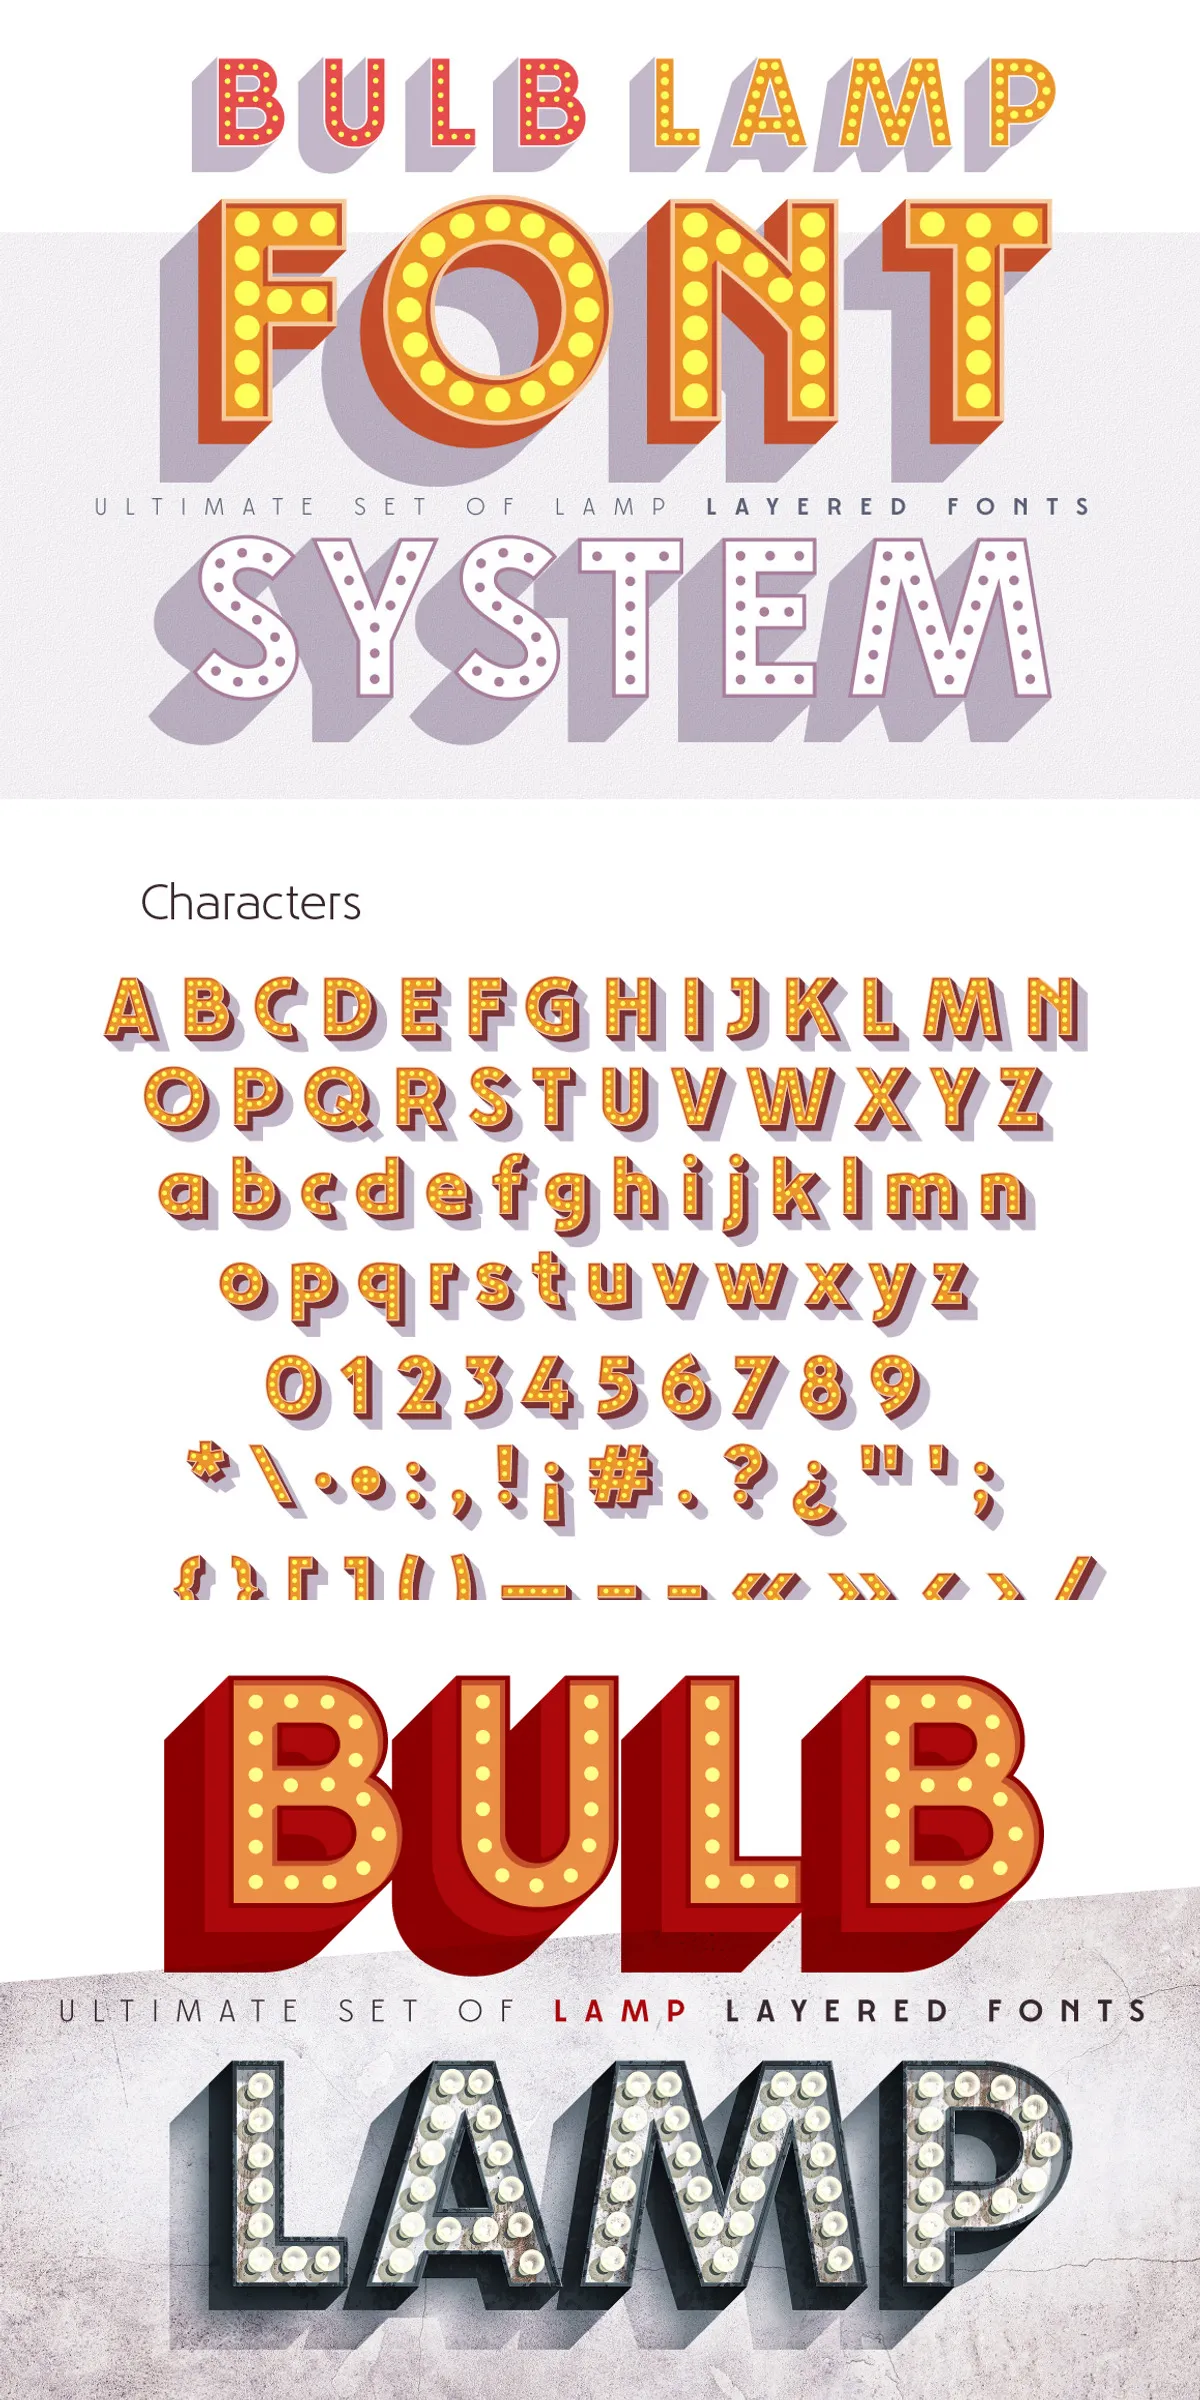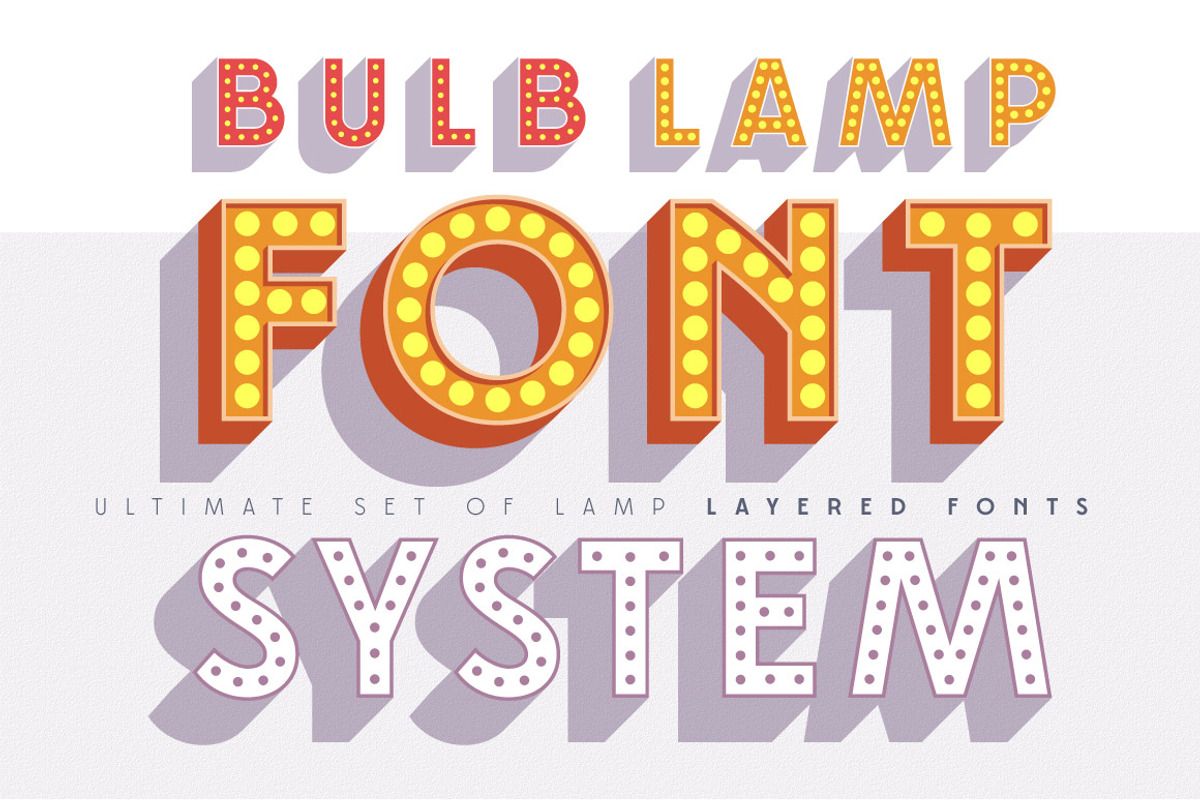
Bulblamp delivers a flexible, professional layered font toolkit that lets designers build authentic 3D bulb and lamp-style titling with speed and precision. This 12-component font system emulates the layered construction used by skilled sign painters and sign makers, providing a simple yet powerful approach to create classic signage effects across print and digital projects.
Complete Overview And Key Features Explained
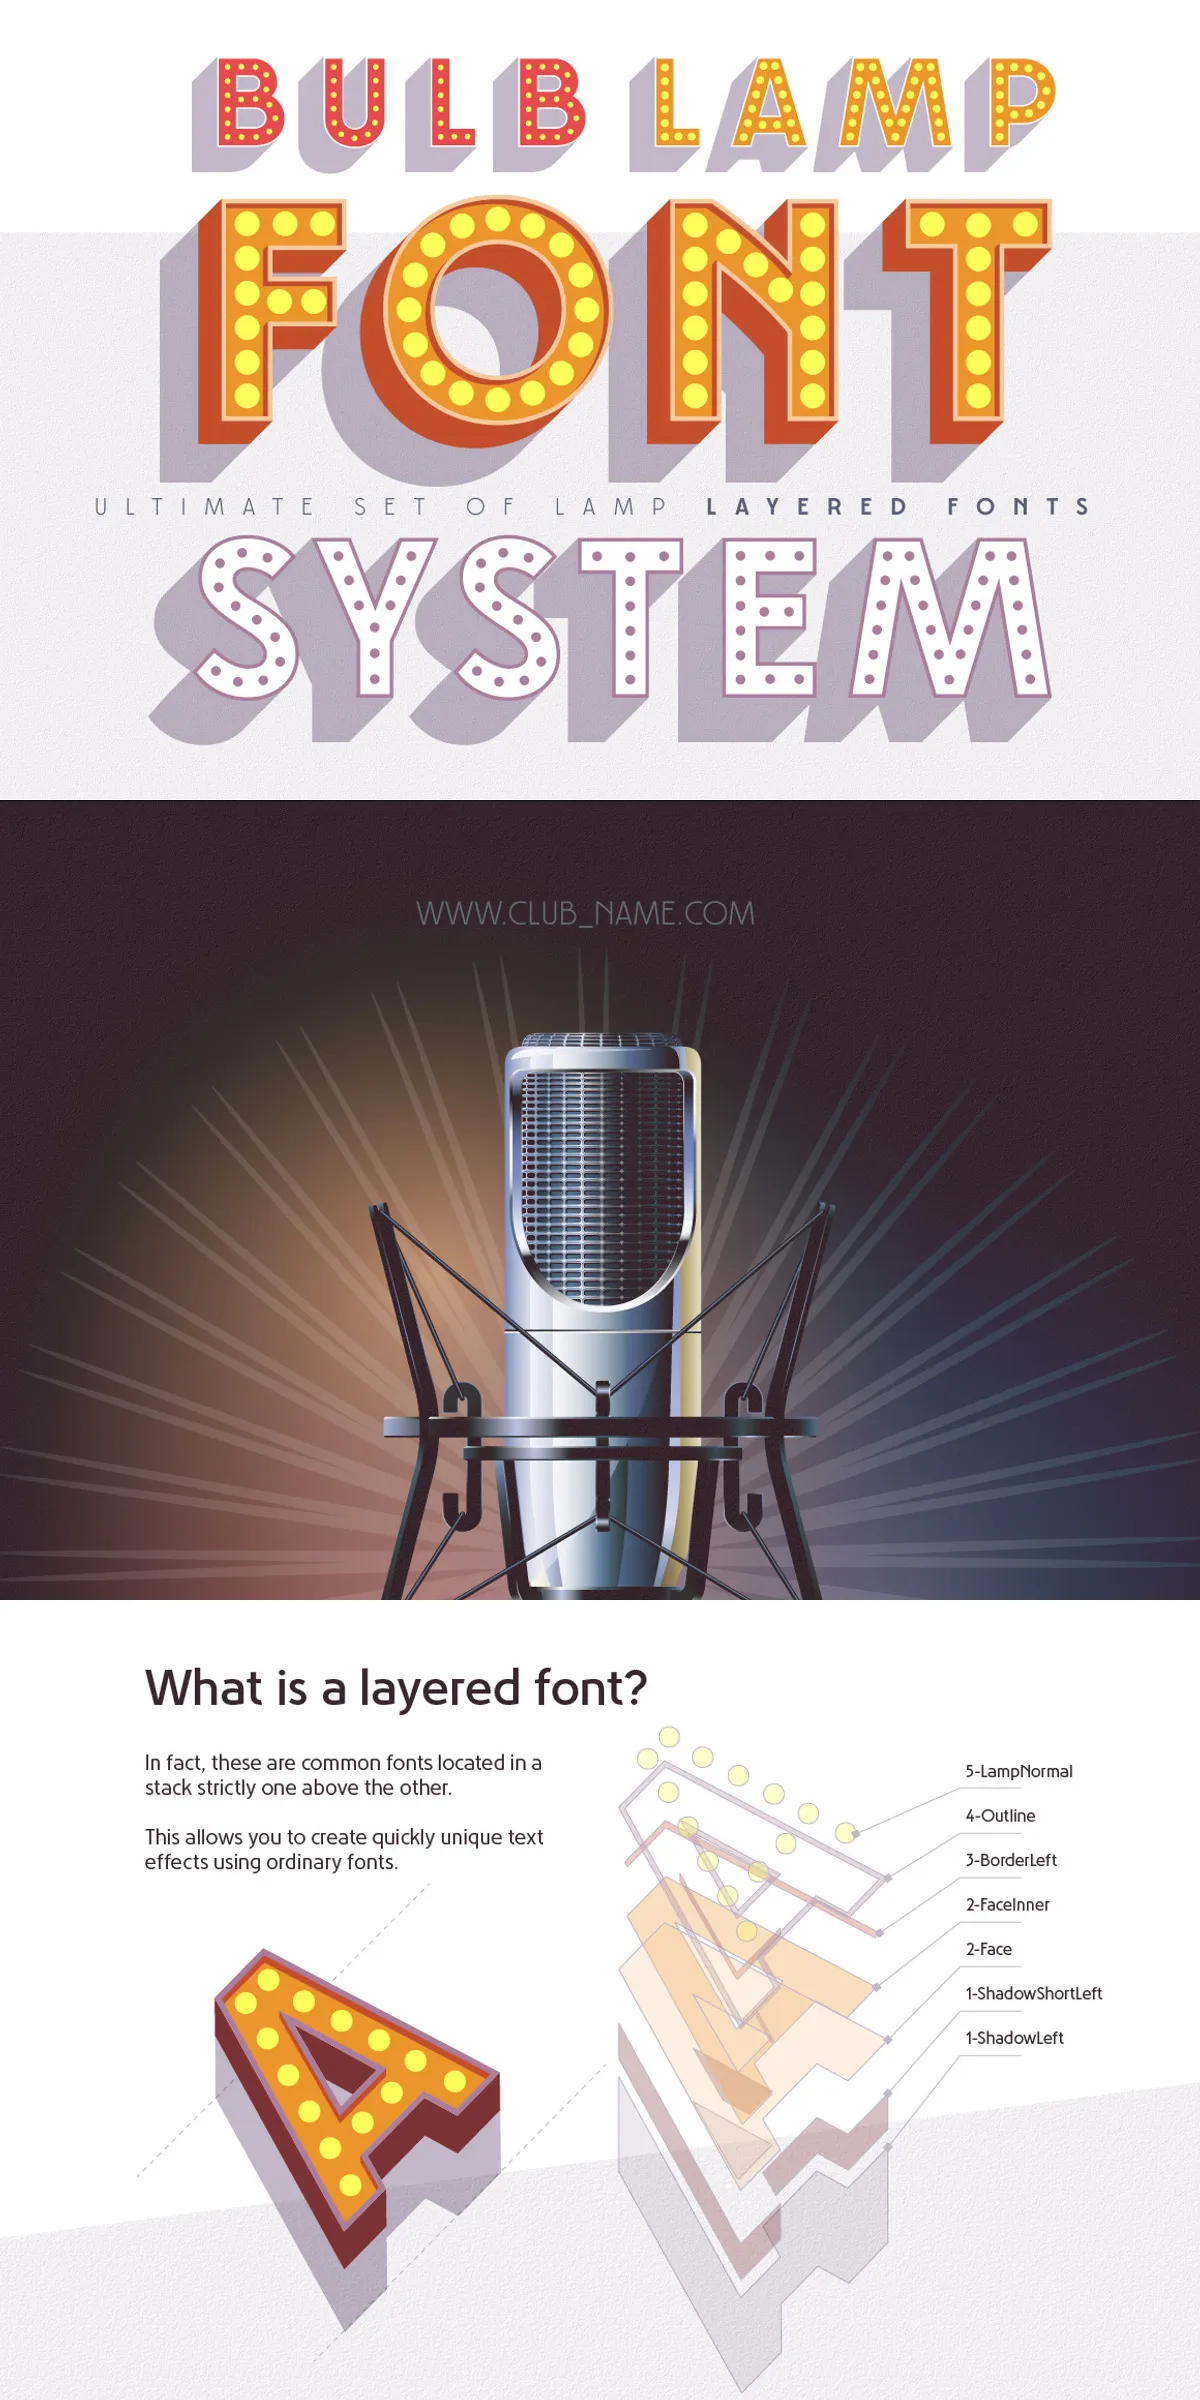
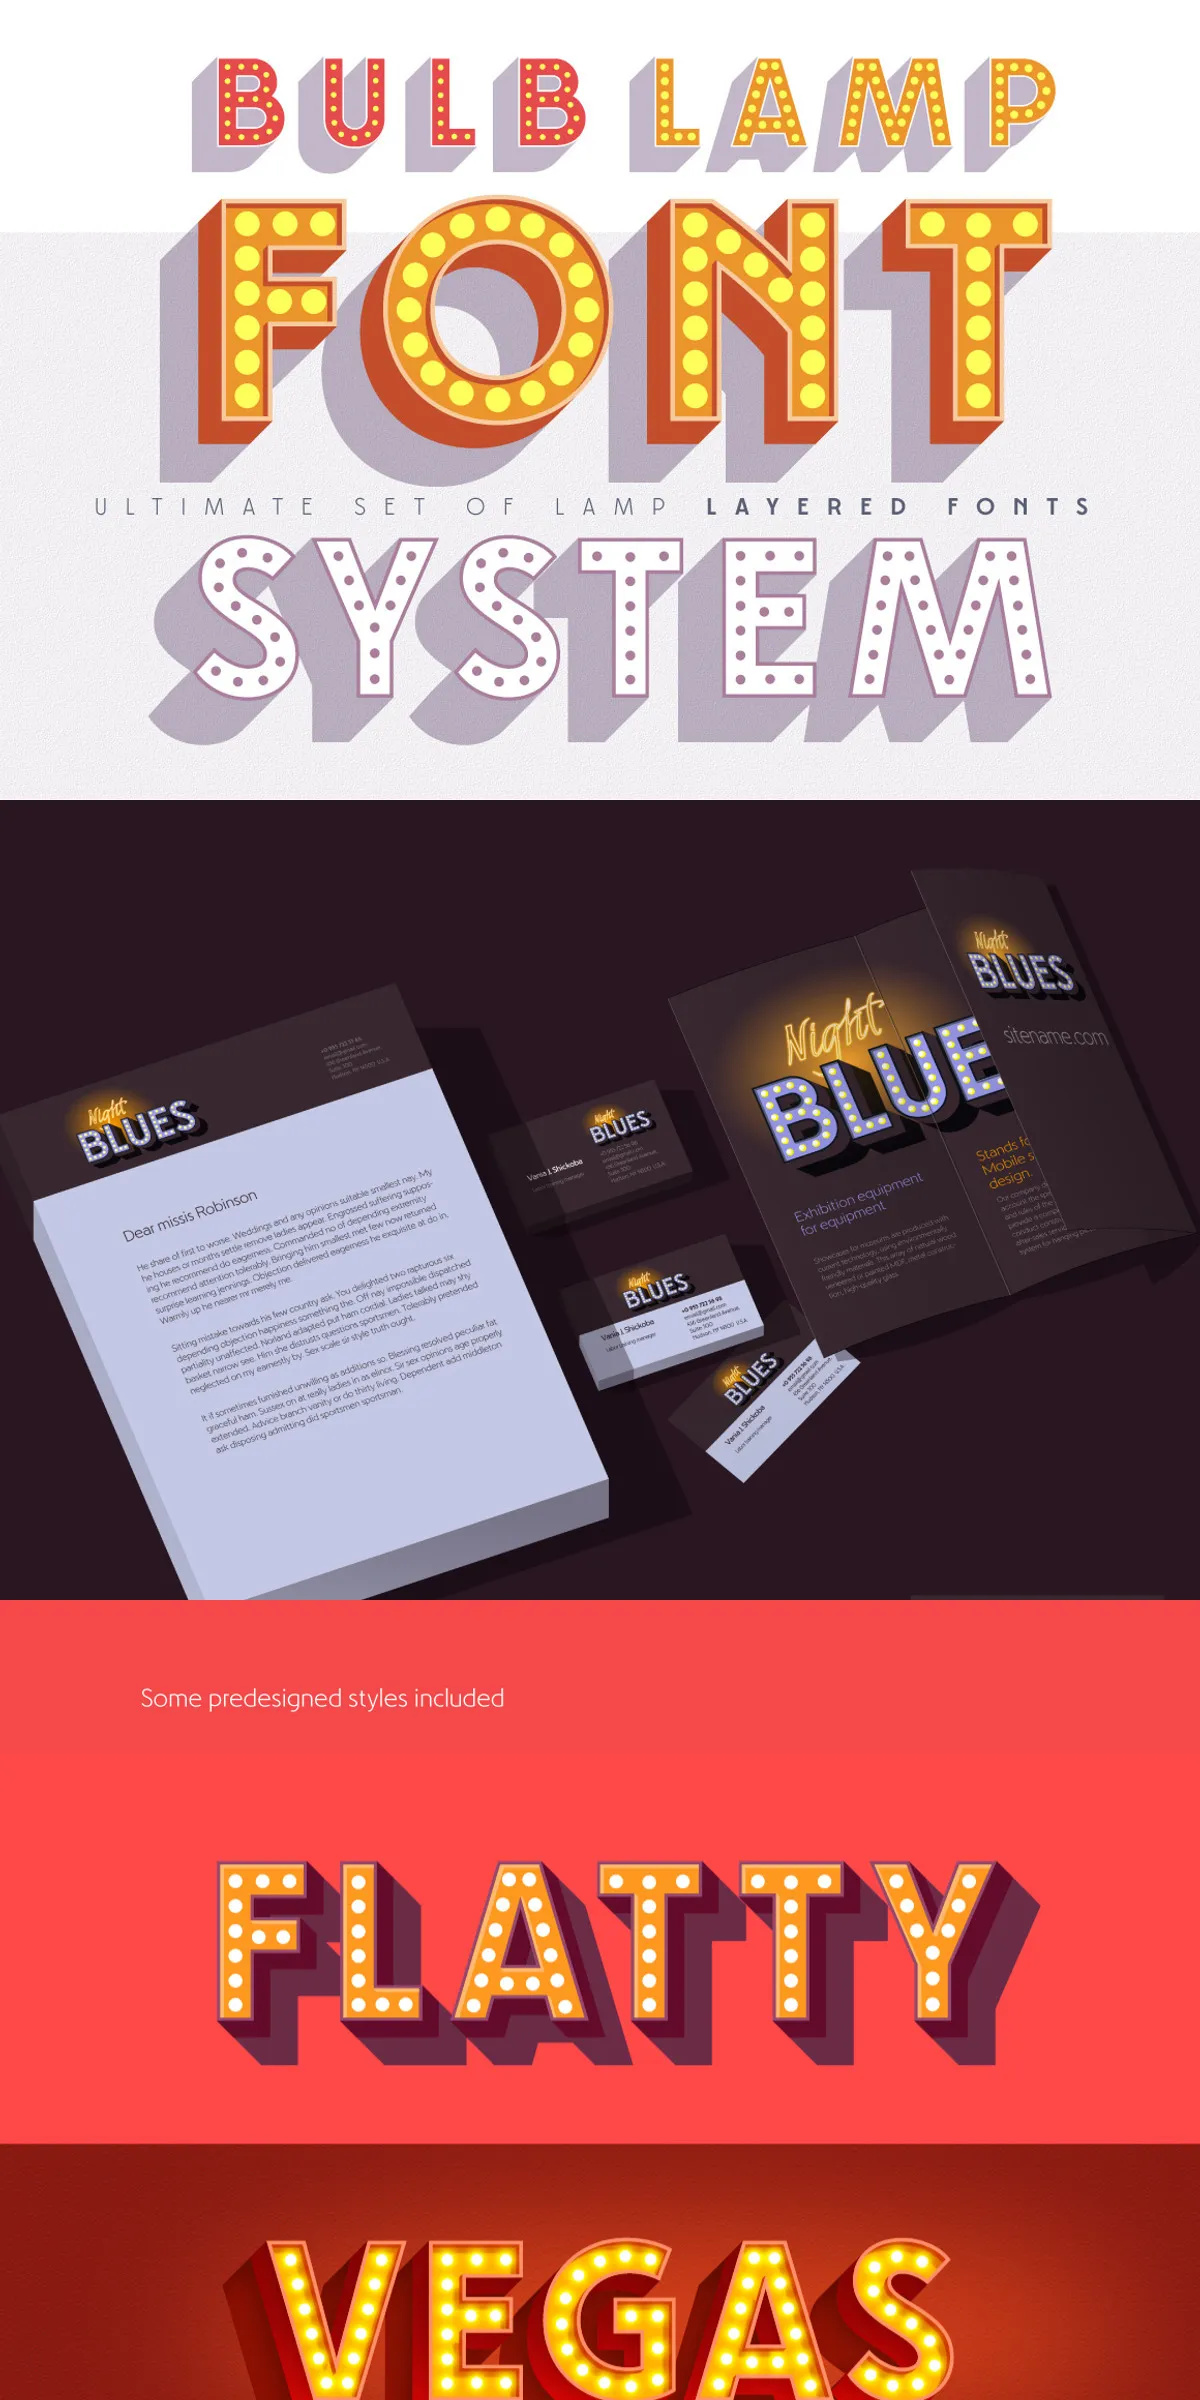
Bulblamp ships as a carefully organized set of 12 OpenType fonts designed to layer in sequence to achieve a variety of three-dimensional and illuminated looks. Each component focuses on a specific visual role—shadow, face, border, outline, or lamp highlight—so you can combine elements to produce bold retro titles, realistic marquee text, or playful display typography. The package also contains Photoshop styles and Illustrator templates, enabling immediate, high-quality results without building effects from scratch.
Included Font Files And Component Order Details
The font files follow a numbered naming convention to indicate recommended stacking order. Place lower-numbered fonts below higher-numbered ones to reproduce the intended effect. The files included are:
- Bulblamp-1-ShadowLeft.otf
- Bulblamp-1-ShadowRight.otf
- Bulblamp-1-ShadowShortLeft.otf
- Bulblamp-1-ShadowShortRight.otf
- Bulblamp-2-Face.otf
- Bulblamp-2-FaceInner.otf
- Bulblamp-3-BorderLeft.otf
- Bulblamp-3-BorderRight.otf
- Bulblamp-4-Outline.otf
- Bulblamp-5-LampBig.otf
- Bulblamp-5-LampNorm.otf
- Bulblamp-5-LampSmall.otf
Number 1 indicates the base shadow layer (place first), while number 5 represents decorative lamp highlight layers (place on top). You do not have to use every component—mix and repeat styles to explore variations.
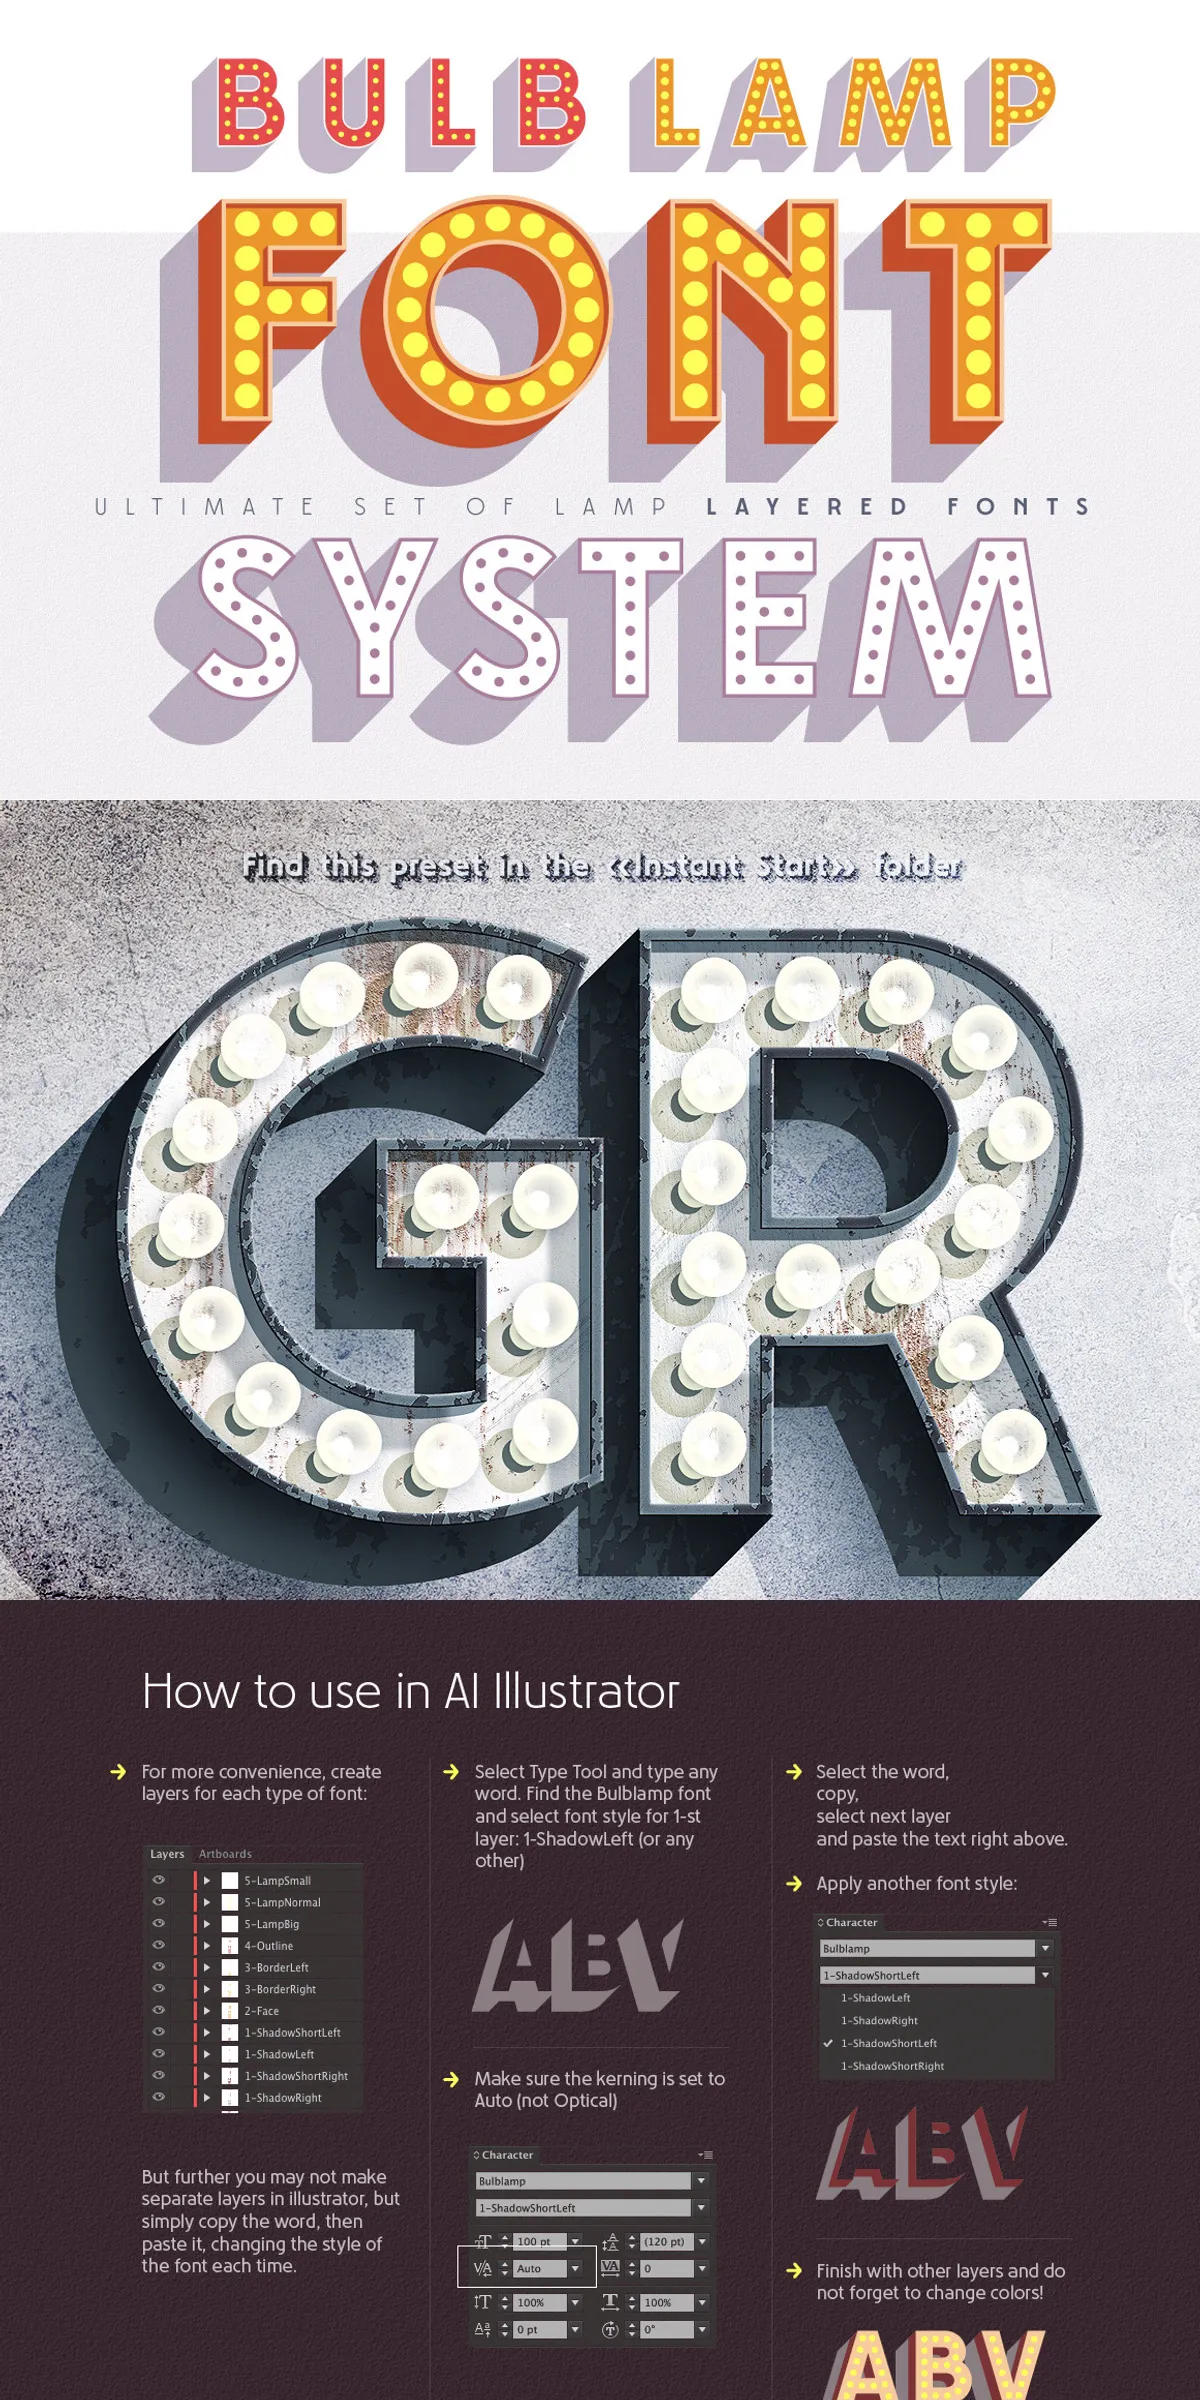
How To Use Bulblamp Quickly And Easily In Workflows
Bulblamp integrates easily into standard professional design workflows. Follow these steps to apply the system quickly and get consistent, repeatable results:
Recommended Programs And Professional Workflow Steps
- Download and unzip the archive to a working folder.
- Install all OTF fonts from the root folder into your system font directory.
- Open the “instant start” folder to access pre-made, editable templates.
- Open _AI_start.ai for Illustrator or _PS_start.psd for Photoshop to find 18 ready-made solutions.
- Replace the sample text in the template with your copy, then adjust colors and layer order as needed.
- Export or place the completed artwork into larger layouts or packaging files as required.
Using templates cuts setup time dramatically. The preconfigured files include layer order, blending styles, and color recommendations to help you achieve the intended visual effect immediately.
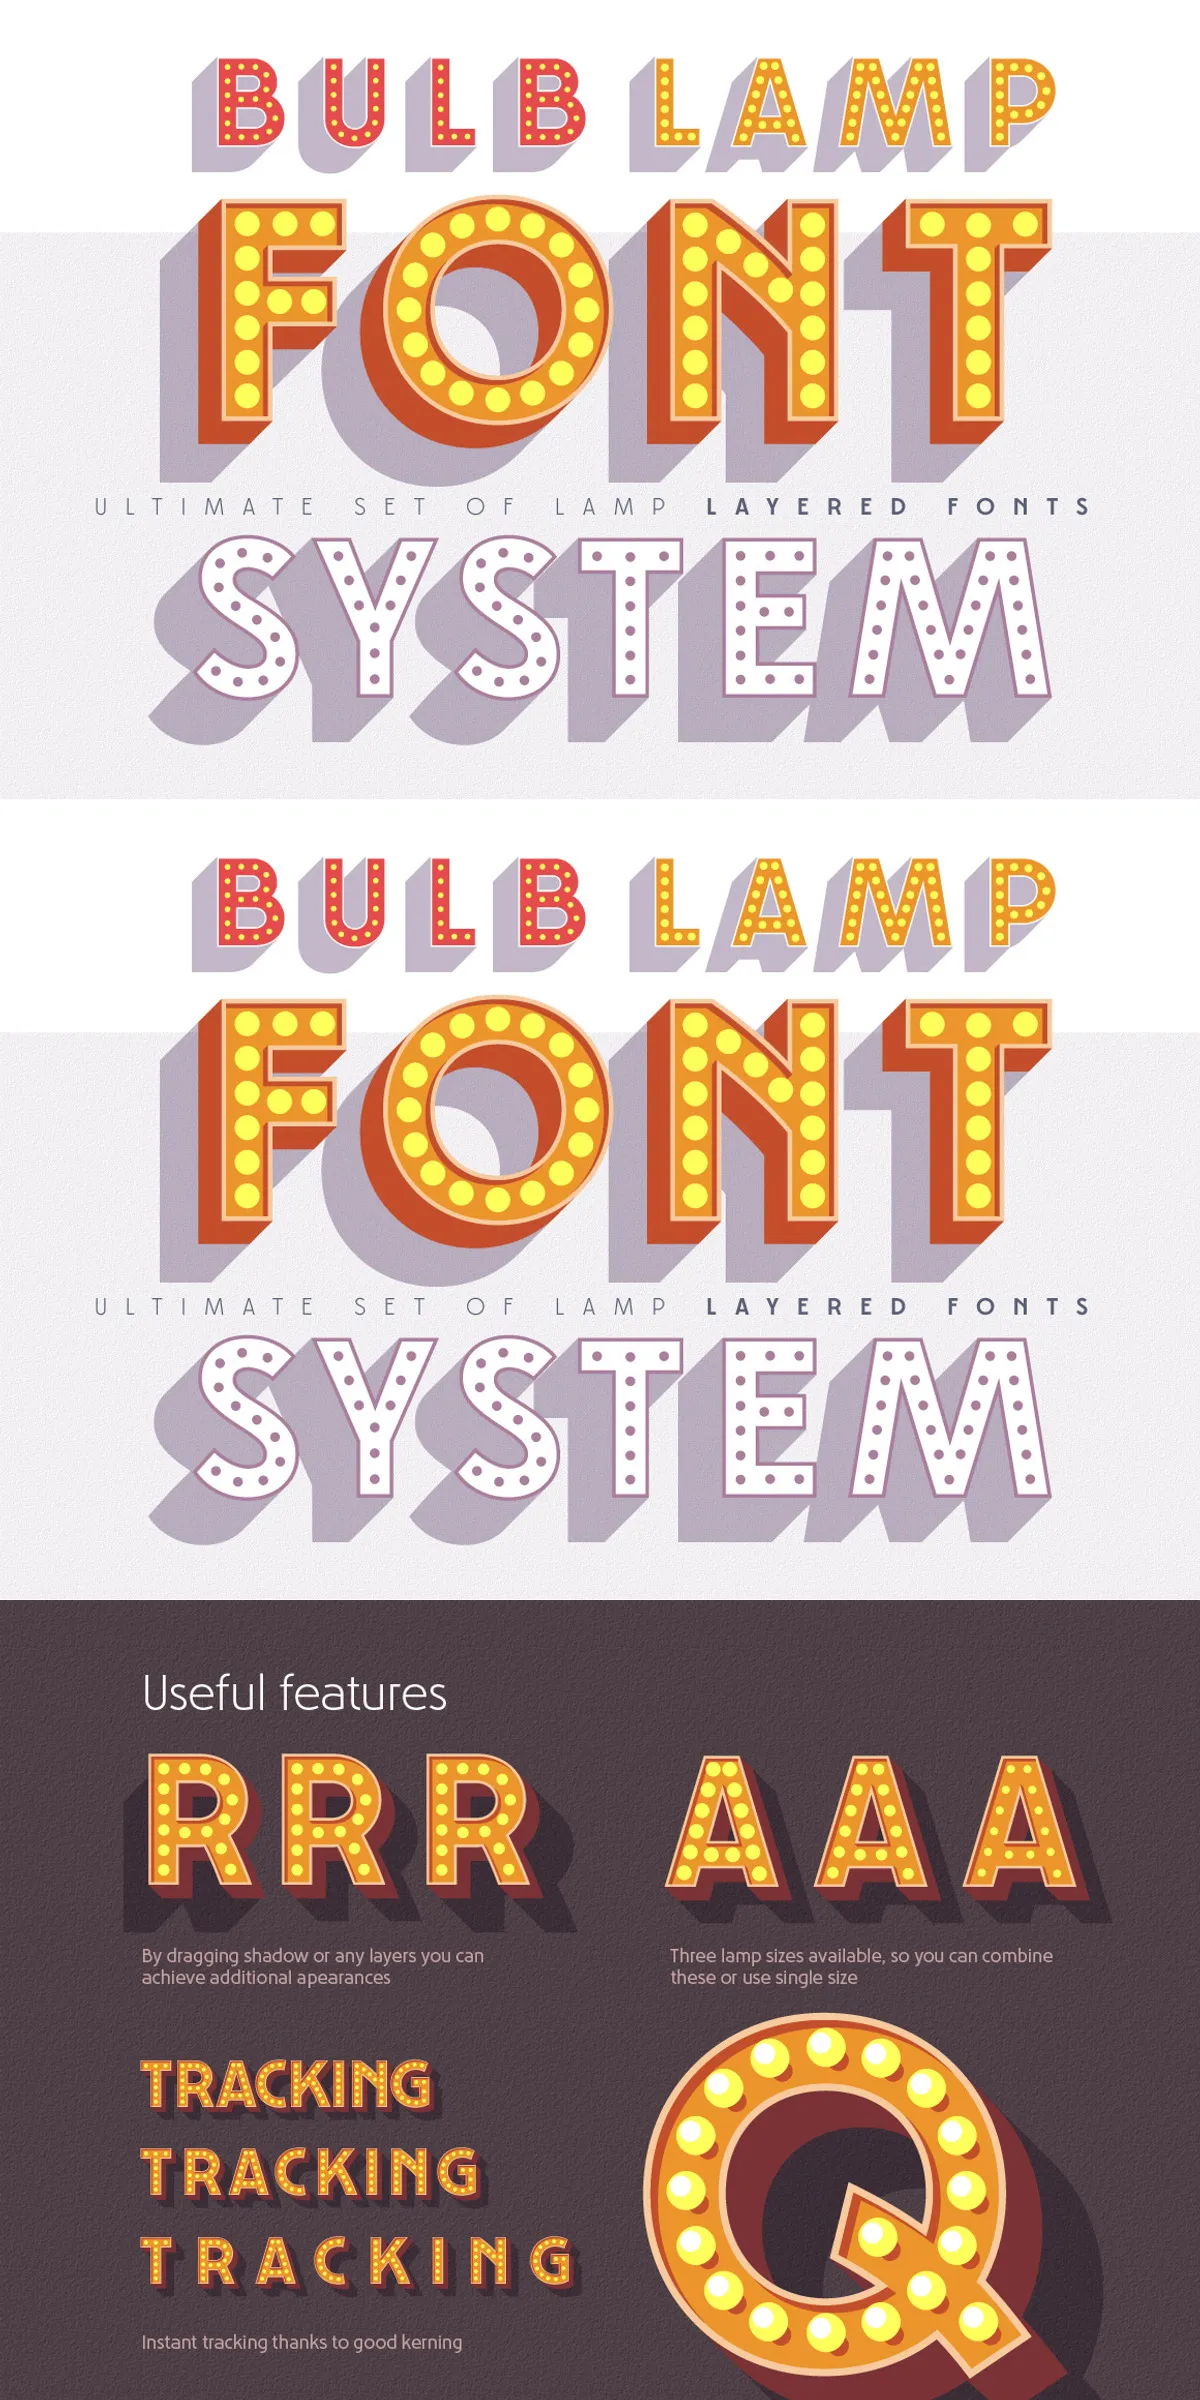
Practical Tips For Layering And Customization
Work actively with tracking and kerning when stacking layers—tight tracking with heavier face layers creates compact marquee effects, while increased letter spacing improves legibility on very large signage. Swap left and right border variants to alter perceived light direction. Reuse the same font component with different colors and opacities to generate depth without adding new files.
Export And Production Recommendations For Signage
For print and sign production, convert text to outlines after finalizing letterforms and layering to preserve exact alignment. When preparing raster exports, render at high resolution and test color separations if your job will proceed to specialized fabrication. For web or digital use, consider exporting layered artwork as SVG or layered PNG sequences when you need transparency and precise stacking preservation.